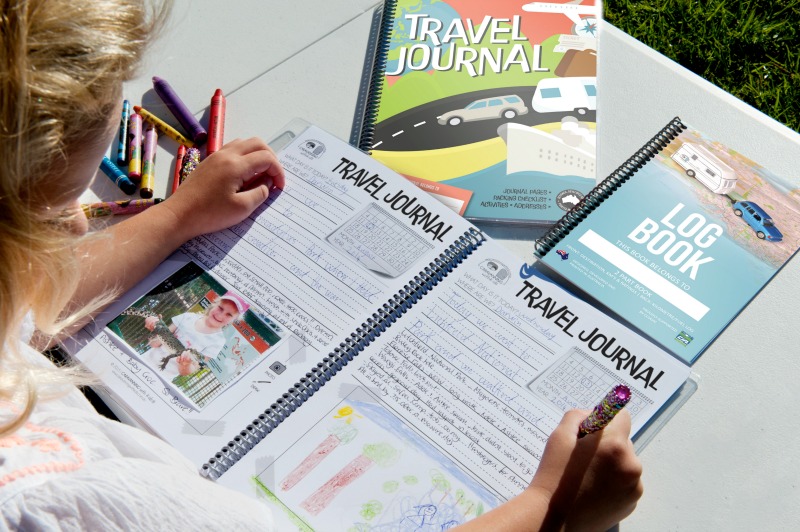
Did you check out our article – Where do you sleep your baby in the caravan? – We popped in our top 5 tips and got so many messages from families asking how to turn their caravan bunk into a cot with netting – or creating a fully enclosed area! Lucky for us, we had recently seen a super cool photo on Zahlis Big Lap Facebook Page of their set up – so we asked Ebony to share with us how they did it!
“Before we left on our big trip we had a few worries about the girls sleeping arrangements.
Where will they sleep.? Will they be safe.? Will they climb out, or fall out.? Will they sleep, EVER.?
Leaving on our trip of a lifetime it was important for us to have safe sleeping arrangements. This wasn’t just a night away or a long weekend, this was our new home and we needed a solution, the best solution for us.
And I guess if you’re reading this article then you’re also on the road, planning a trip or even after a weekend solution in your caravan for your little one or know of someone that is.
We are currently travelling with a Jayco Expanda. It sleeps 6. The bedding arrangements are – queen, double and bunks.
Both our girls were young when we left. Maddyn was 2.5 years old and Emery had just turned one which meant she wasn’t old enough to sleep in with her big sister in the double bed, nor was she old enough to go on top bunk. She was too big to still be sleeping in between us, although this is where she prefers to end up.
We decided to put her in the bottom bunk and make it a safe place for sleeps and rest time.
We originally tested out the standard bed rail, this was fine for stopping Emery falling out but it didn’t contain her when she needed to sleep, and it sure as hell didn’t help with her self settling. Emery was in and out like a yo-yo and with her age she grow as did her character and attitude. We went thru the stages of fighting day sleeps and bedtime routines. Her day sleeps would be long gone if we had of stuck with the bed rail.
Every night we have been so thankful that we had this masterpiece made up for Emery and for our sanity. The best $200 we spent in preparation for this trip. We know she is safe in her bed and it has given her the opportunity to continue self settling independently (sorry neighbours).
It has saved us a lot of stress and sleep on the road.
Michael and myself aren’t too handy when it comes to sewing, and with only 4 days before our departure day we were extremely time poor, so we decided to meet up with our local canvas company and discuss our options with them.
This is an extremely easy option and it is definitely a task that could be tackled alone by a handyman/women who has a few hours to spare. The cost will obviously vary depending on materials you decide to use. Ours was roughly $200 incl labour.
We wanted something that would be secure, fully enclosed to block out light especially for Emerys day naps, something lightweight as ever single gram in the van counts, something breathable and easy to remove for when she outgrows it or we want to resell. We were slightly concerned in the beginning that it may overheat however we have not had any issues at all. Its breathable and the fan and air conditioner reaches her from outside the bed.
It’s also been a bonus up in the northern parts of Australia with keeping those nasty midges and mosquitoes out.
Below are some pictures and a brief explanation on how Emerys bed was made.
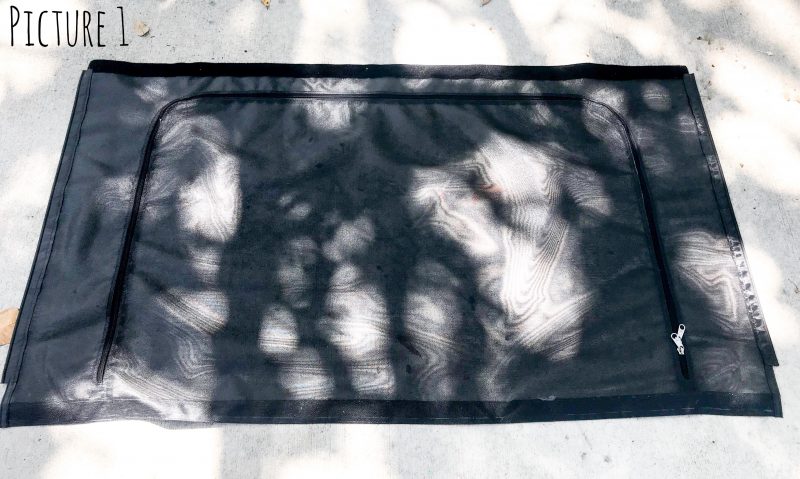
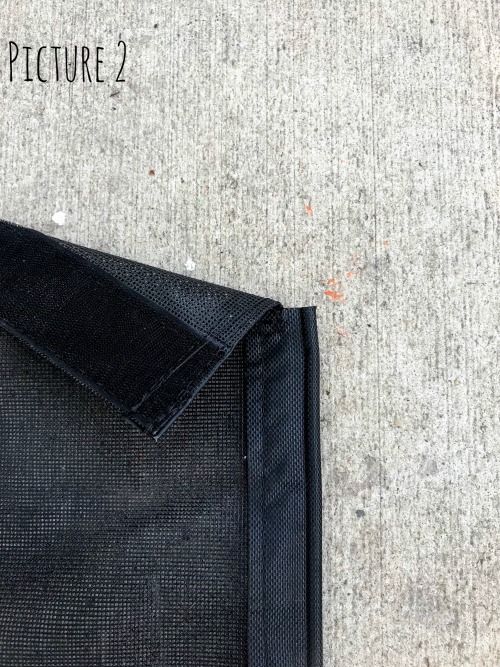
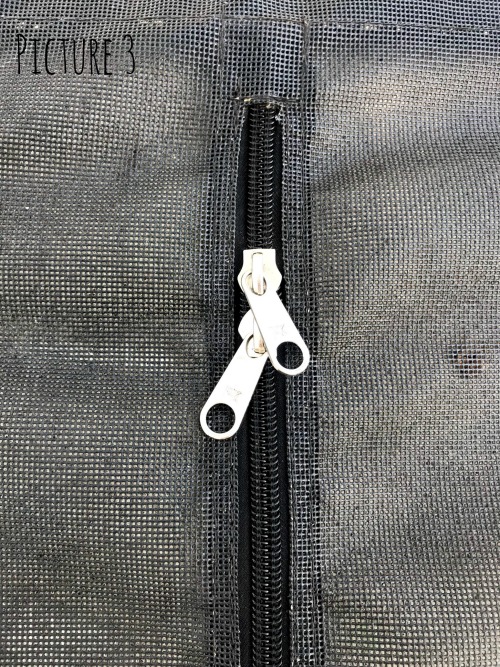
Picture 1, 2 & 3
Firstly measure out the area of your bunk that needs to be enclosed and add a few cms extra on the top of the mesh for a strip of thick heavy duty velcro and a few cms extra on the bottom so this can be tucked under the mattress.
We would recommend using a thick heavy duty mesh so no holes can be made from pokey fingers. Toddlers are alot stronger than you think. It will also help blocking out light for day naps. Another tip from us would be to use 2 zips so the bed can be opened and closed from either side or left half open for play time. This worked well as a play pen in her earlier days.
Picture 4.
Staple one side of the velcro to the top of the bunk and drill in awning rails on each side of the bed. Sew in your zips and add the velcro to the top of the mesh. Sew the awning inserts onto the mesh on each side as you can see in pics 1,2,3.

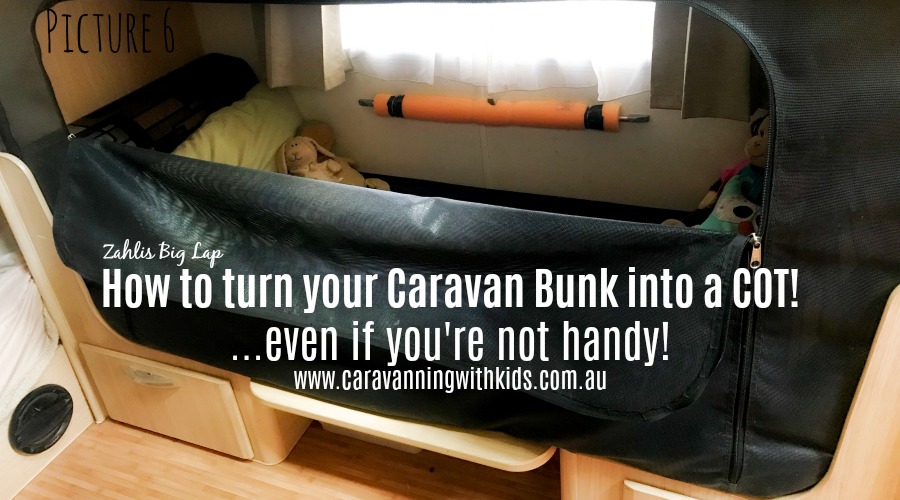
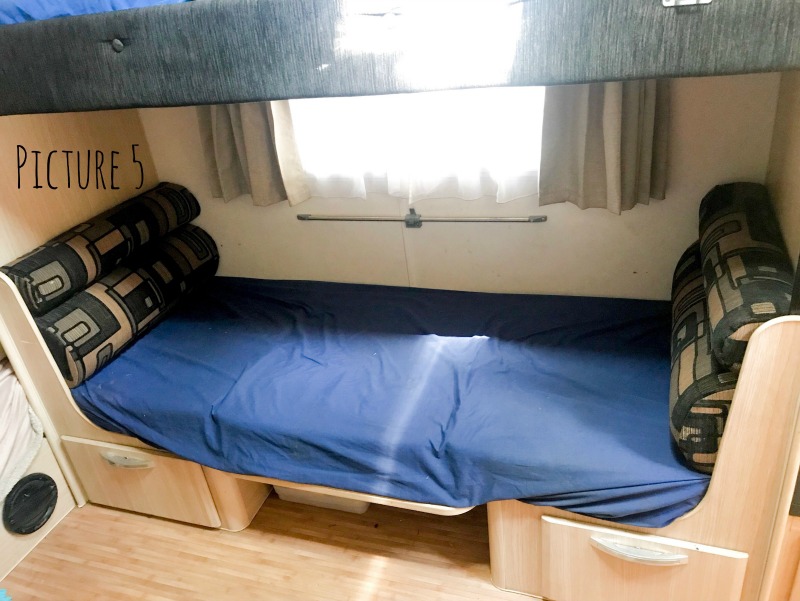
Picture 5 & 6.
Insert the rails from top to bottom. Tuck the excess material below under the mattress, you can add more velcro if you think it’ll slip out however we have never had any issues. Connect the velcro strips together on the top of the bunk from the inside.

Picture 7.
Voila – You have just created a safe sleeping arrangement for you little traveller.

Happy and safe sleeping to you and your little one from all of us at Zahlis Big Lap.
www.instagram.com/zahlisbiglap
Another ripper article from Ebony – if you would like to read about how she handled swimming with Whale Sharks (which didn’t end that well…) CLICK HERE!
OUR SHOP is filled with so many cool items for your next trip away – car travel trays, pegless clotheslines, natural mozzie repellent and our popular Aussie made Travel Journals…